STAG-AUIUI-P8VT 2024
Náplň a požadavky
Kurz AP8VT si klade za cíl naučit studenty kvalitně a efektivně vyvíjet webové aplikace podle moderních přístupů a postupů. Přednášky jsou realizovány také formou praktických workshopů, v rámci nichž dílčí týmy postupně budují svůj webový produkt. Cvičení se zaměřují na využívání konkrétních technologií, pomocí kterých studenti průběžně realizují týmový projekt.
Lektoři
Petr Záček Organizační záležitosti univerzity, garant předmětu, Product Owner
Jiří Urban Hlavní přednášející, organizace kurzu, Product Owner
Tomáš Juřička Hlavní cvičící, .NET, React
Stanislav Čermák Product Owner
David Sedlář Cvičící, .NET
Dochazka
Povoleny jsou 3 absence, v opačném případě je třeba donést omluvenku od doktora.
Způsob hodnocení
Studenti mohou během semestru získat až 70 bodů v následující struktuře:
Projekt – 65 bodů
Projekt je rozdělen do 5 sprintů, každý po 10 bodech. Finální sprint (ve zkouškovém období) má hodnotu 15 bodů.
Code review – 5 bodů
Před finální prezentací proběhne hodnocení kvality zdrojových kódů, kde má tým možnost získat a obhajit si dodatečných 5 bodů.
Bodování projektu sestává z hodnocení dílčích sprintů (Scrum terminologie). Konkrétní bodování za jednotlivé sprinty probíhá následovně:
Vedení kurzu a product owneri ohodnotí increment každého sprintu hodnotou 0-100 % za plánování a jeho formální správnost, dodané množství práce (increment), komunikaci a projev v průběhu sprintu, prezentaci při sprint review. Všechna tři hodnocení se zprůměrují (např. 85 %) a tímto průměrem se násobí maximální možný počet bodů (10 bodů * počet členů týmu). Například pro 5ti-členný tým by součet byl max. 50 bodů, který mohl tým za sprint získat. Body se zaokrouhlí na celé číslo nahoru a tím se získá bodové ohodnocení za tento sprint pro daný tým (např. 43 bodů). Tyto body si mezi sebe rozdělí členové týmu na základě vzájemné dohody, jak kdo v daném sprintu pracoval. Tým je povinen nahlásit do 3 dnů od sprint review počet bodů pro jednotlivé členy v týmu (např. Karel 8b, Monika 10 bodů, Pepa 5 bodů, Simona 10 bodů, Šimon 10 bodů). Tímto způsobem můžete reflektovat skutečnou práci na projektu napříč týmem.
Zvláštní pravidla
Za jeden sprint může jednotlivec v rámci přerozdělování bodů v týmu dostat i více bodů než 10, maximálně však o 2 body více než je maximum. Počet přidělených bodů na jednoho zaokrouhlete na celá čísla. Za finální (poslední) sprint je nutné, aby tým obdržel minimálně 50% bodů pro úspěšné absolvování kurzu. V případě, že se tak nestane, bude vedoucí kurzu s týmem řešit celou situaci a buď celý tým nebo určití jedinci dostanou z kurzu známku F.
Přepočet bodů na konkrétní známky odpovídá standardům vysokých škol.
Program výuky - Seminář
- Týden 5.2 - Seznámení s předmětem, Představení projektu, Sestavení týmů.
- Týden 12.2 - Lean Canvas workshop.
- Týden 19.2 - Základy Scrumu / (External) UI/UX triky
- Týden 26.2 - Sprint review 1.
- Týden 4.3 - Workshop o týmových odhadech / Backlog.
- Týden 11.3 - Sprint review 2.
- Týden 18.3 - Scrum game
- Týden 25.3 - Sprint review 3.
- Týden 1.4 - Odpadá - Velikonoce
- Týden 8.4 - Sprint review 4.
- Týden 15.4 - (External) Tyrkysová organizace / agilní vývoj projektu: Honza Podzimek.
- Týden 22.4 - Sprint review 5.
- Týden 29.4 - Finální retrospektiva / Pokročilý Scrum.
- Týden 6.5 - Finální prezentace projektu.
Program výuky - Cvičení
- Týden 5.2 - Založení projektu ze šablony a nastavení lokálního vývojového prostředí
- Týden 12.2 - Git, Continuous development & Continuous integration, Azure
- Týden 19.2 - Databáze, Entity framework, DI, Databáze, Entity framework, REST API
- Týden 26.2 - Cvičení vynecháno z důvodu nepřítomnosti cvičícího
- Týden 4.3 - React app intro, React and Blazor components, Bootstrap, Fetch
- Týden 11.3 - Autentizace a autorizace
- Týden 18.3 - Scrum game
- Týden 25.3 - Logování aplikace, Individuální podpora týmů
- Týden 1.4 - Odpadá - Velkkonoce
- Týden 8.4 - Přednáška CI&CD Best practices,
- Týden 15.4 - Individuální podpora týmů / Volné téma
- Týden 22.4 - Clean Code/Atomic design / Code review
- Týden 29.4 - Code review
- Týden 6.5 - Už nebude cvičení.
Table of contents
1. Lekce - Založení projektu ze šablony a nastavení lokálního vývojového prostředí
Technical Prerequisites:
- .NET 8 SDK
- Your favorite IDE
- Node JS for react development
- MSSQL or a Docker image (mcr.microsoft.com/mssql/server:latest) for local database. And some management tool
Copy project a get it working locally
-
Copy the project
-
Install MSSQL Server and run it or run your MSSQL Docker Image
docker pull mcr.microsoft.com/mssql/server:latestdocker run -e "ACCEPT_EULA=Y" -e "MSSQL_SA_PASSWORD=yourStrong(!)Password" -p 1433:1433 -d mcr.microsoft.com/mssql/server:2022-latest- See how to use section in https://hub.docker.com/_/microsoft-mssql-server
-
Create a database in your local SQL server
Create Database "STAG-AUIUI-P8VT" -
Change your connection string in your
appsettings.json"ConnectionStrings": { "Database": "Data Source=localhost;Initial Catalog=STAG-AUIUI-P8VT;Integrated Security=false;User ID=sa;Password=yourStrong(!)Password;TrustServerCertificate=true" }, -
Build the application via
dotnet build -
Run the application via IDE or
dotnet run -
Maybe you will need to install dev certificates
dotnet dev-certs https -
This will run both backend and frontend as one application
- The ASP.NET server will serve as a host to both API and frontend
-
In
Fetch Datapage you can see some data being pull from API, this data is stored in database an has been seeded via a migration.
More info
2. Lekce - Git, Continuous development & Continuous integration, Azure
Overview:
- Git & best practices presentation
- Create a continuous integration pipeline to build your application.
- Create a continous delivery pipeline (release) to deploy your application to server.
- Setup git policies for branches.
Prerequisites:
- Git
- Pushed changes into a repository in azure devops
Git and development with it
- Git Demo - Basics, Commit, Branch, Checkout, Rebase, merge
- Git Demo - Gitflow
- Git Demo - Trunk based
- How to colaborate using git
Create a build definition using YAML
Setup build pipelines with branch push trigger in azure devops
trigger:
  branches:
    include:
      - main

pool:
  vmImage: "windows-latest"

variables:
  buildConfiguration: "Release"

steps:
  - task: UseDotNet@2
    displayName: Use Dotnet 8
    inputs:
      version: "8.0.x"

  - script: dotnet clean
    displayName: "dotnet clean"

  - script: dotnet publish -o $(Build.ArtifactStagingDirectory)
    displayName: "dotnet publish"

  - task: PublishBuildArtifacts@1
    displayName: "Publish Artifact: drop"
    inputs:
      PathtoPublish: "$(Build.ArtifactStagingDirectory)"
      ArtifactName: "application"
NOTE: Get latest version of react app to get the fix for api URL
Create a release pipeline in Azure DevOps
To host our applications, we will use Azure app service.
To deploy our application, we will create a release pipeline.
Release pipeline:
- Create new Release pipeline
- Select ‘Azure App Service deployment’
- Add artifact
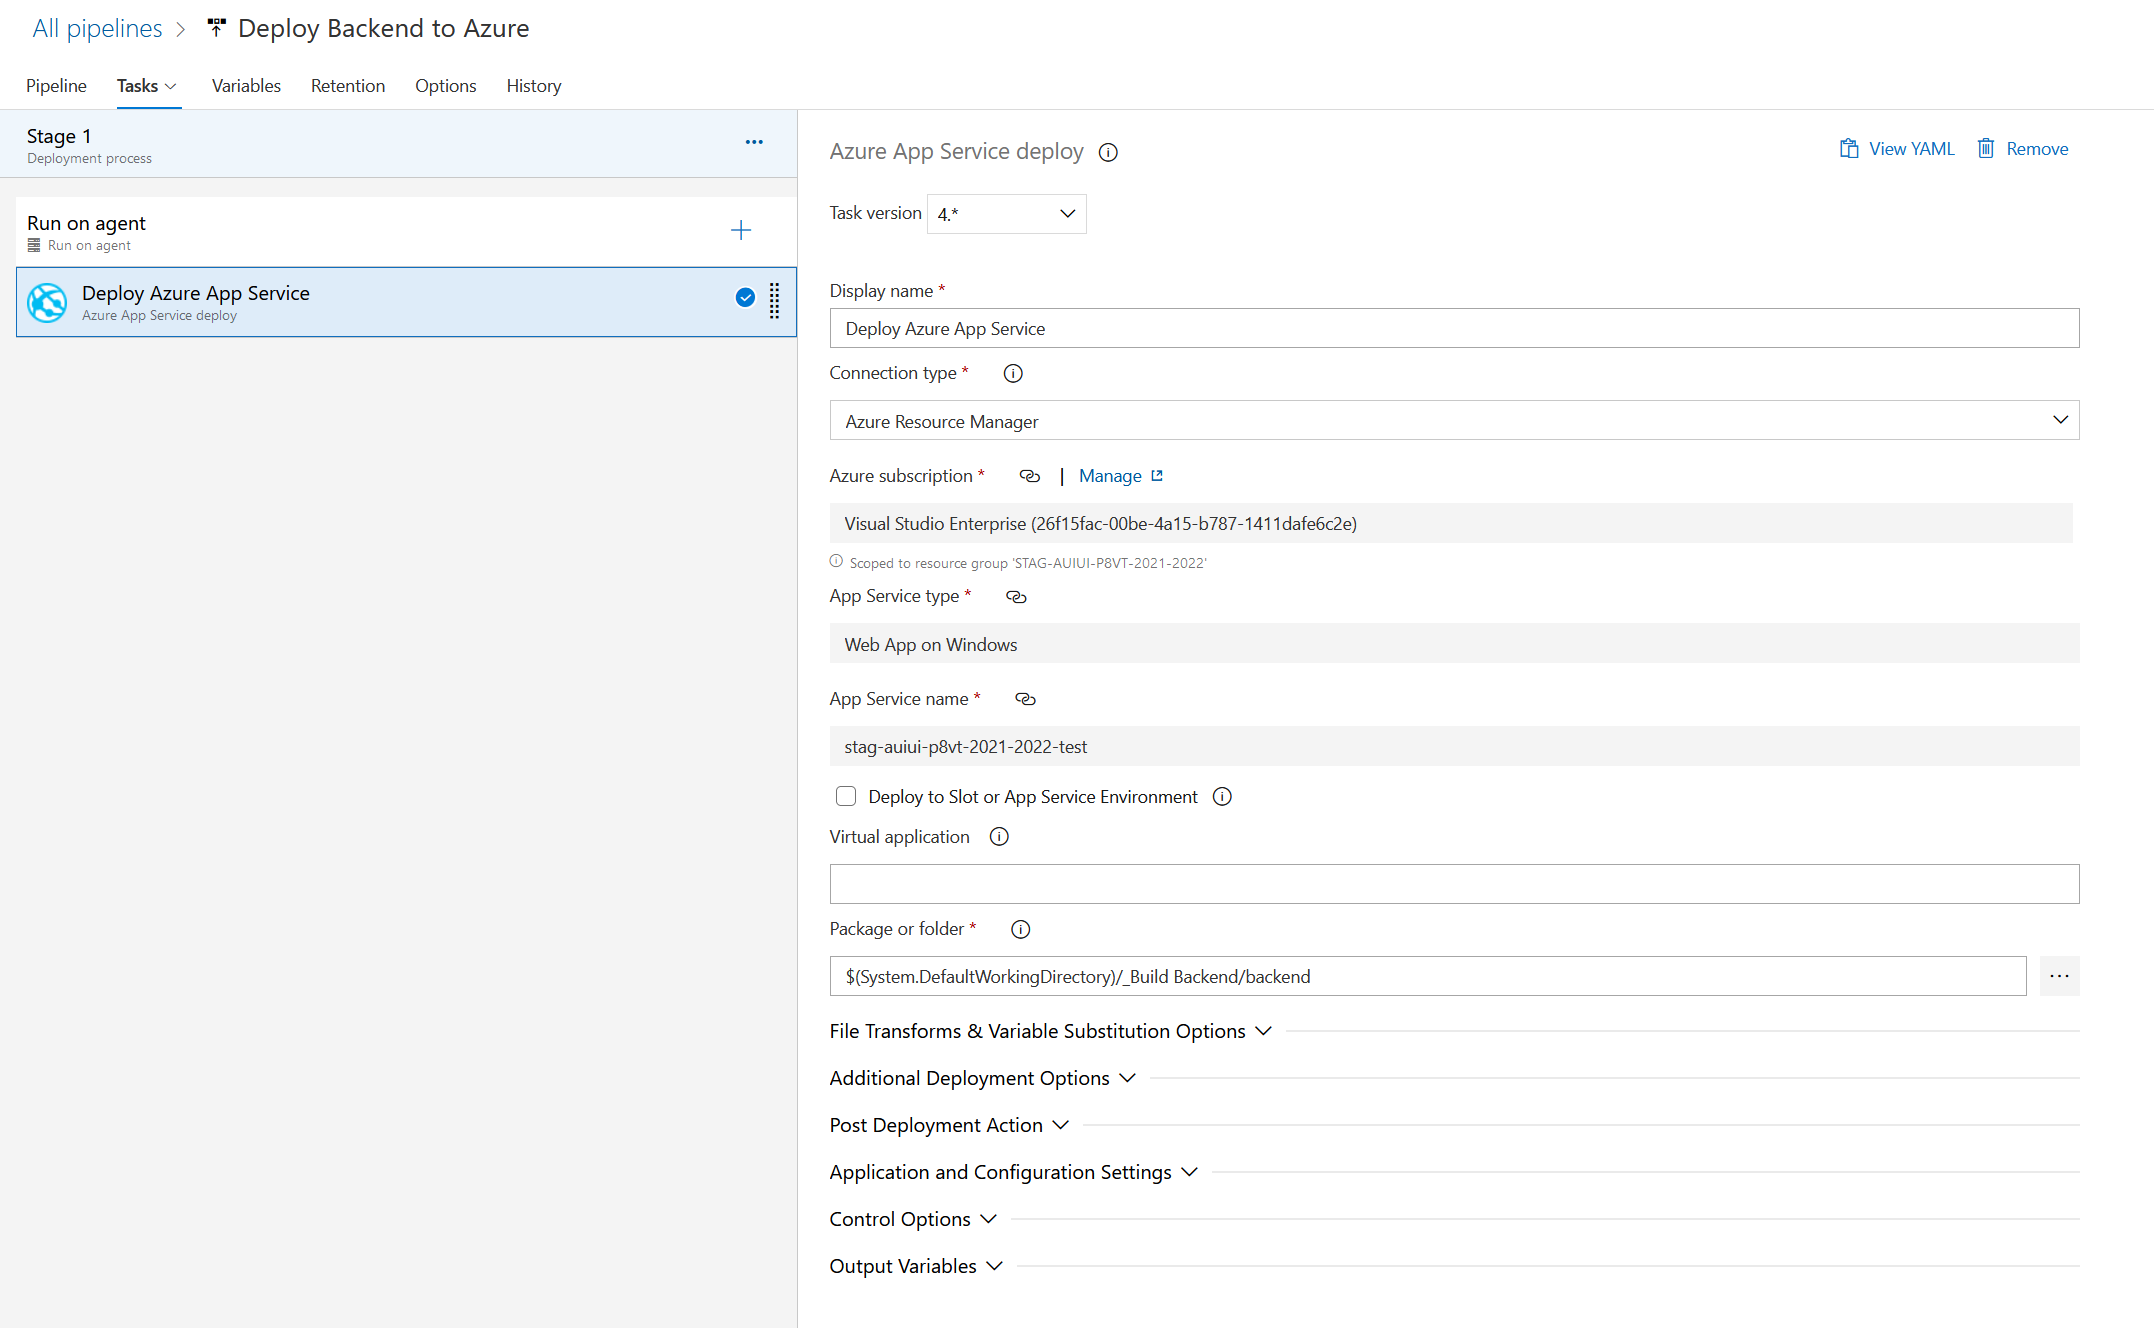
- Configure Azure App Service deployment
- Add subscription (admin needed)
- Add application (admin needed)
- Select Package/Folder location (from build)

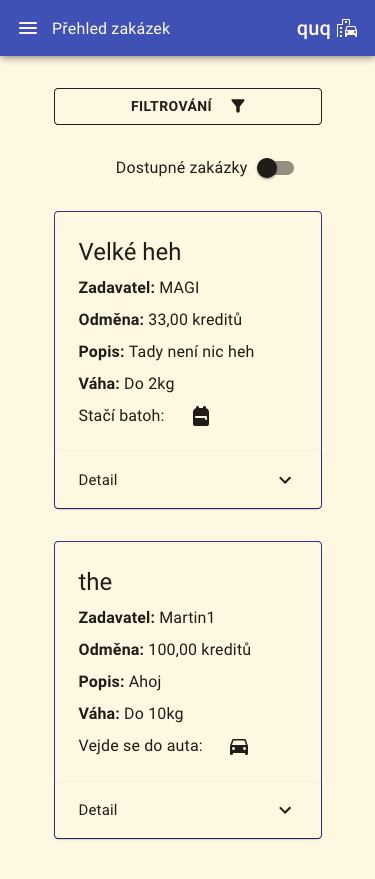
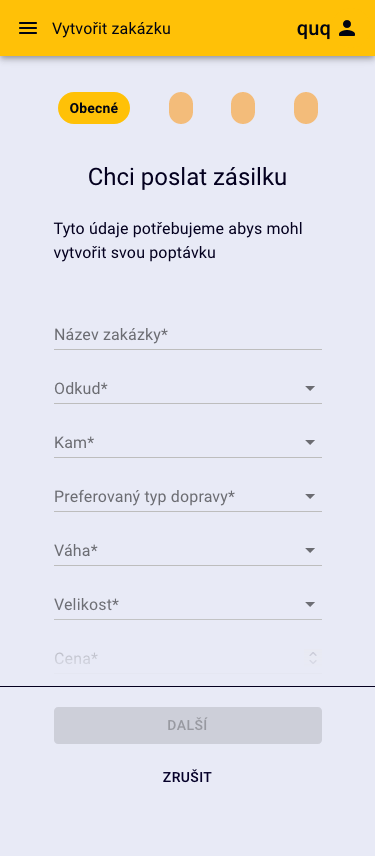
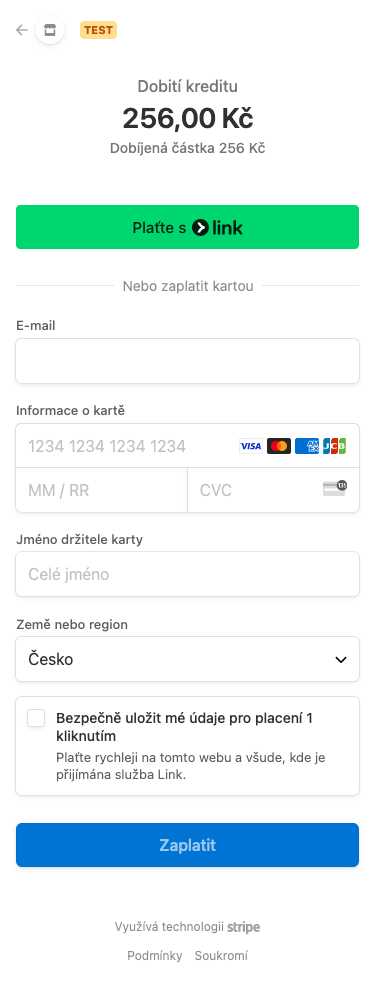
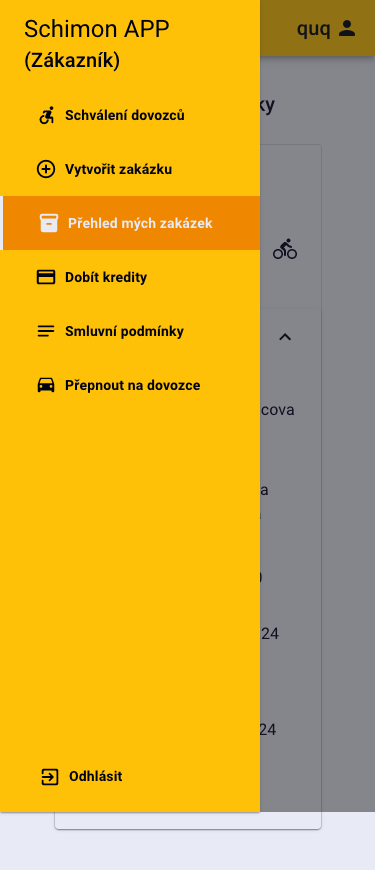
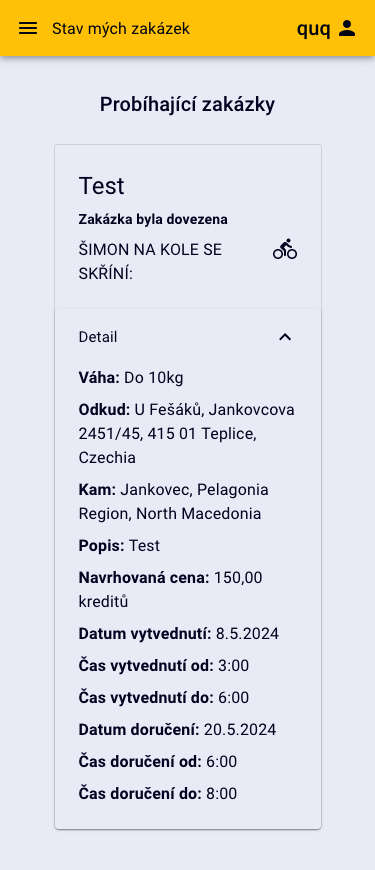
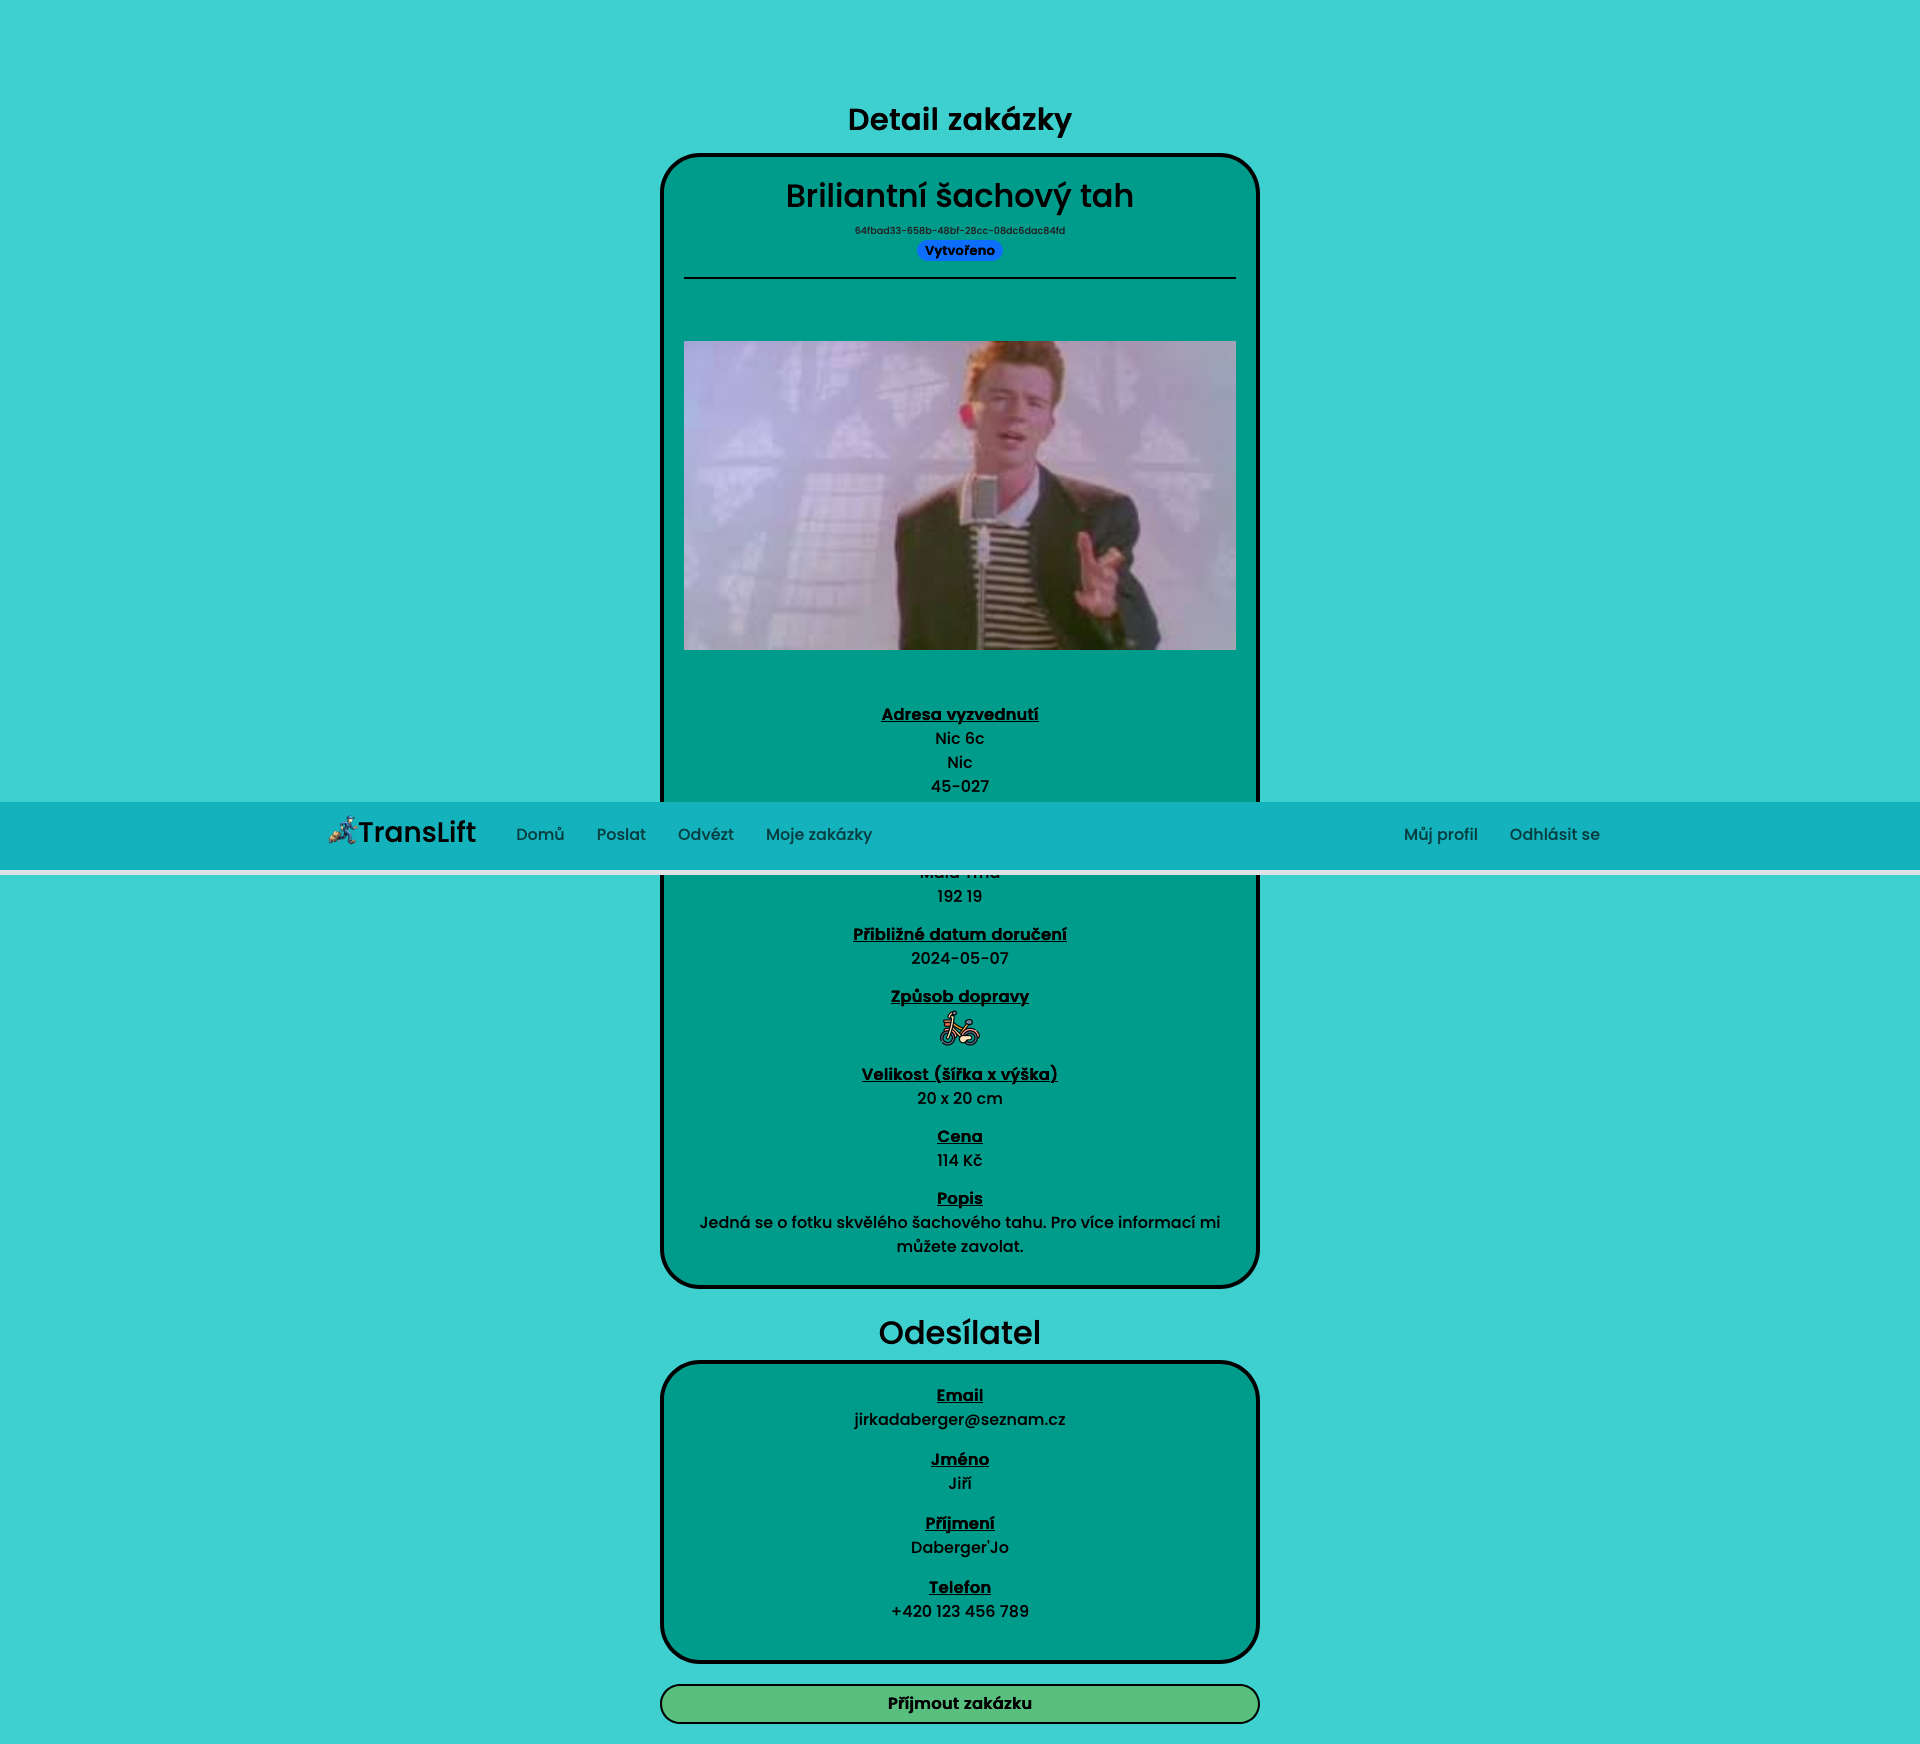
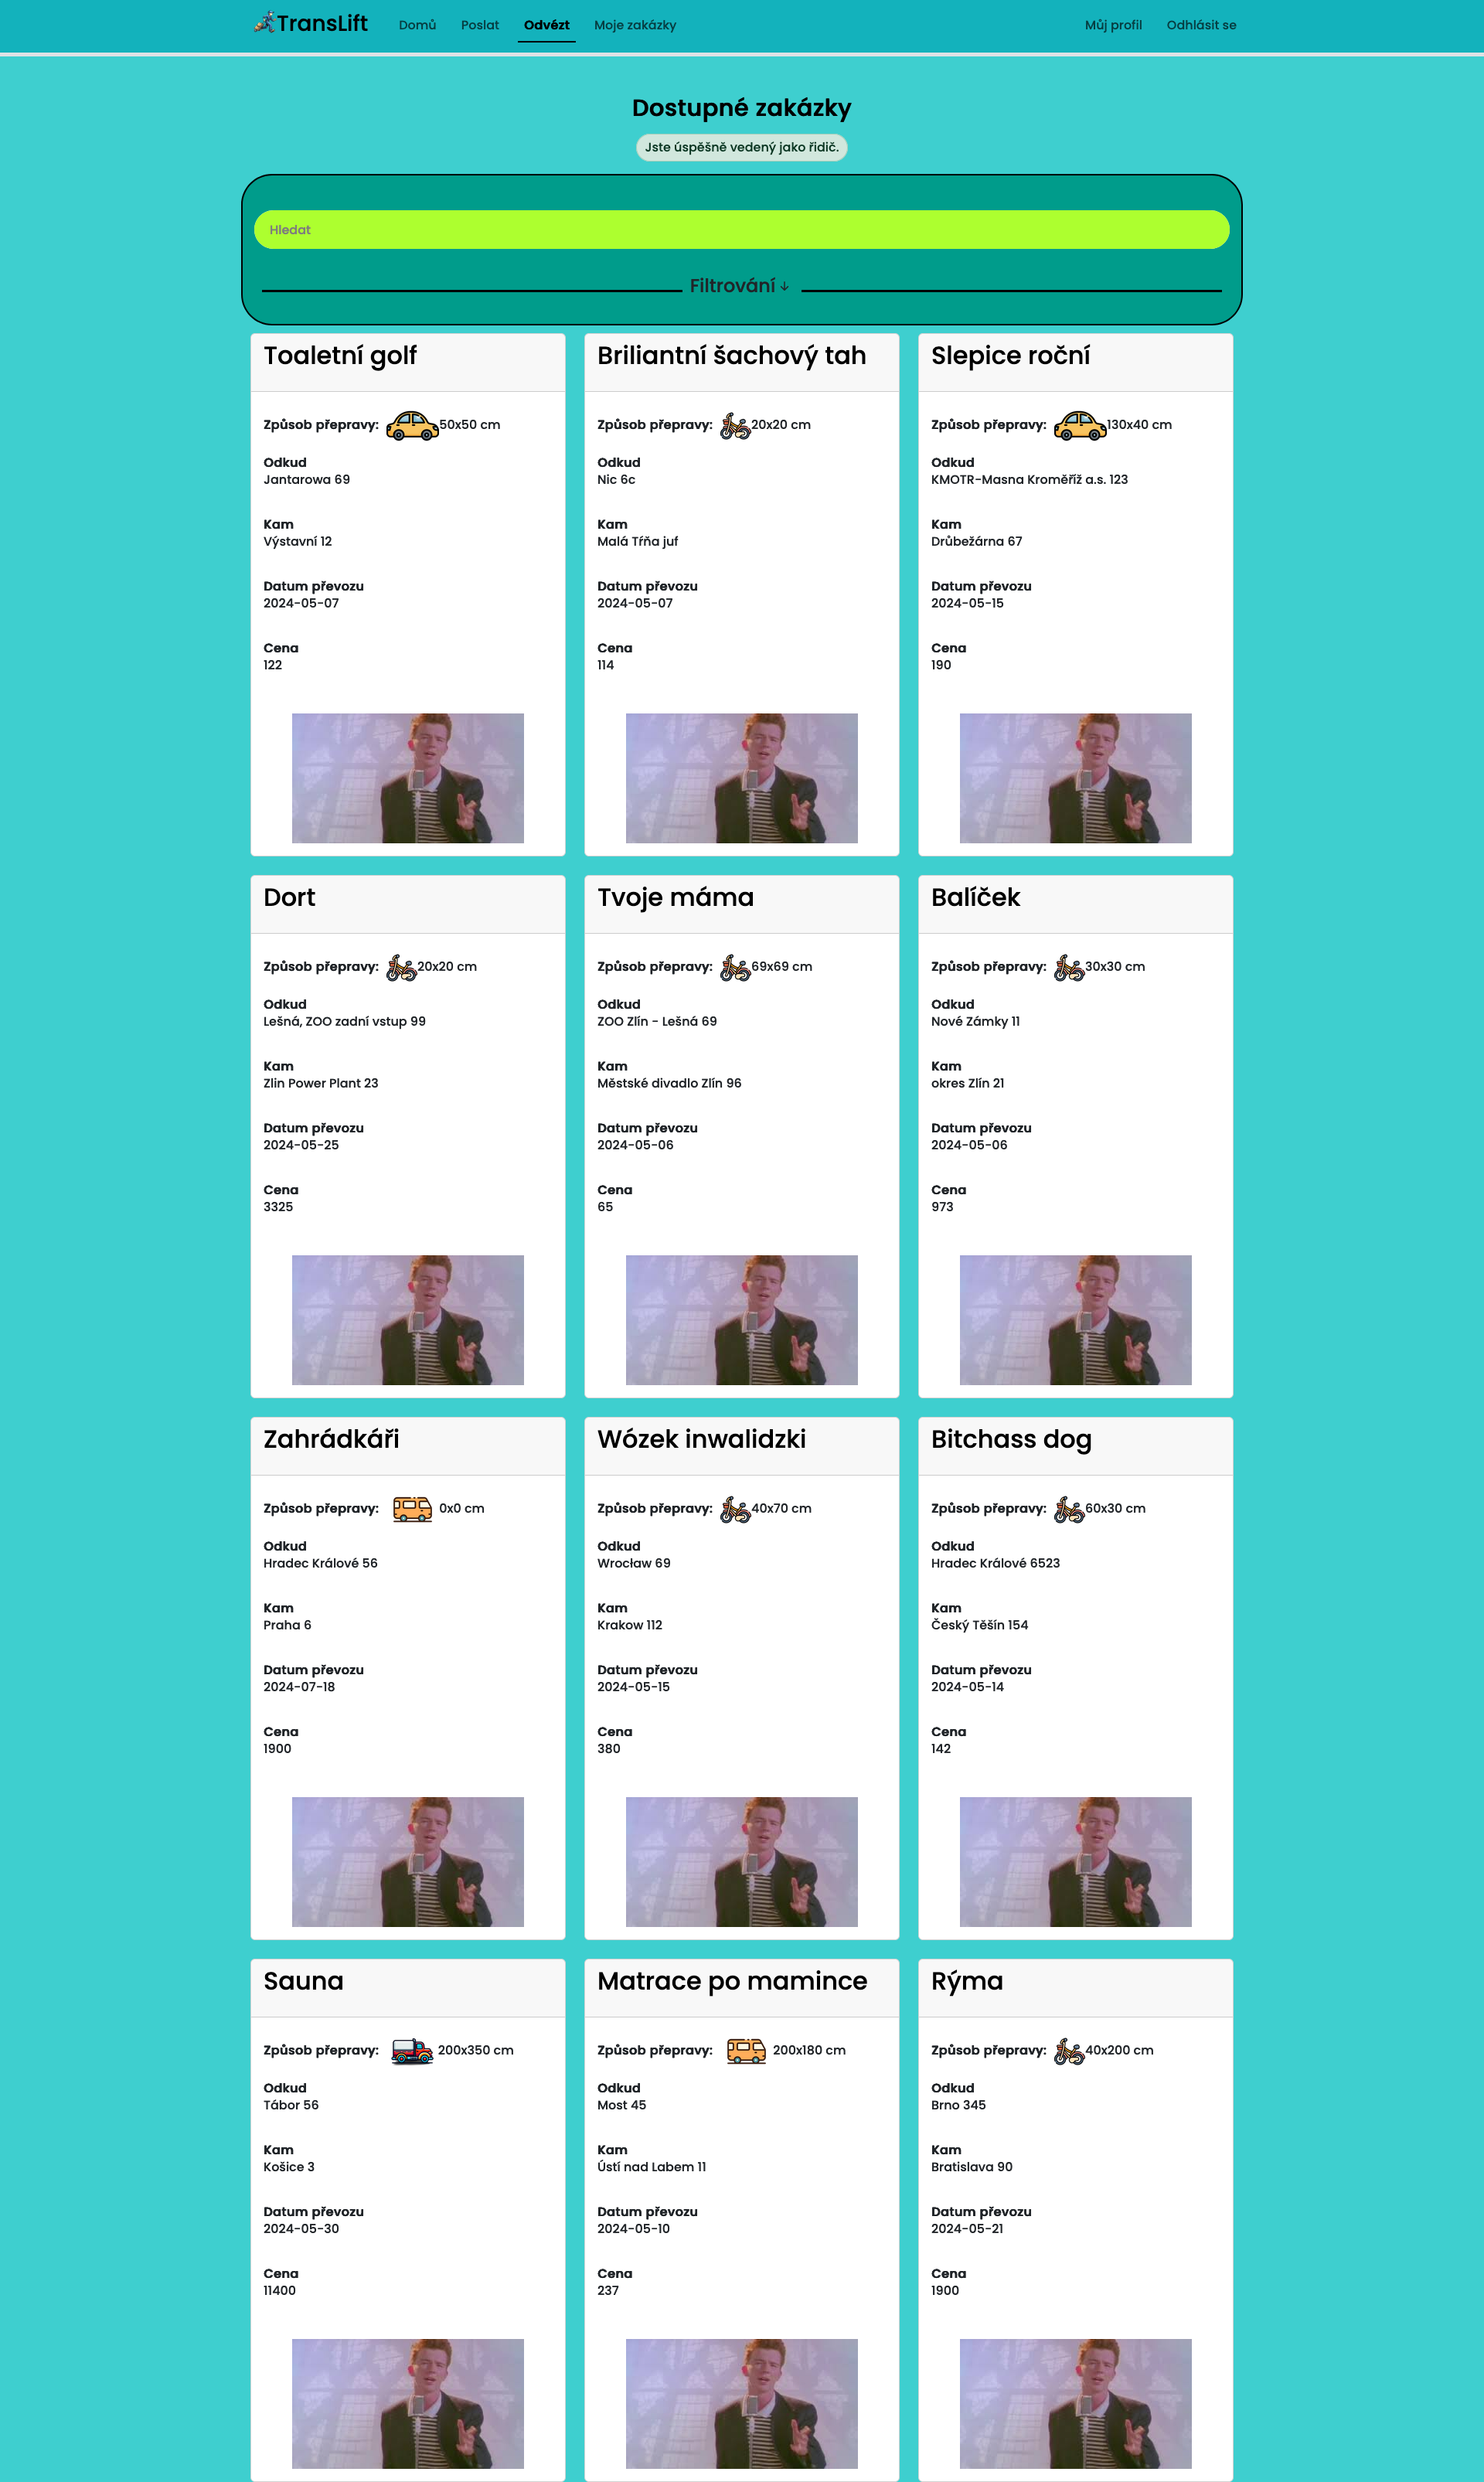
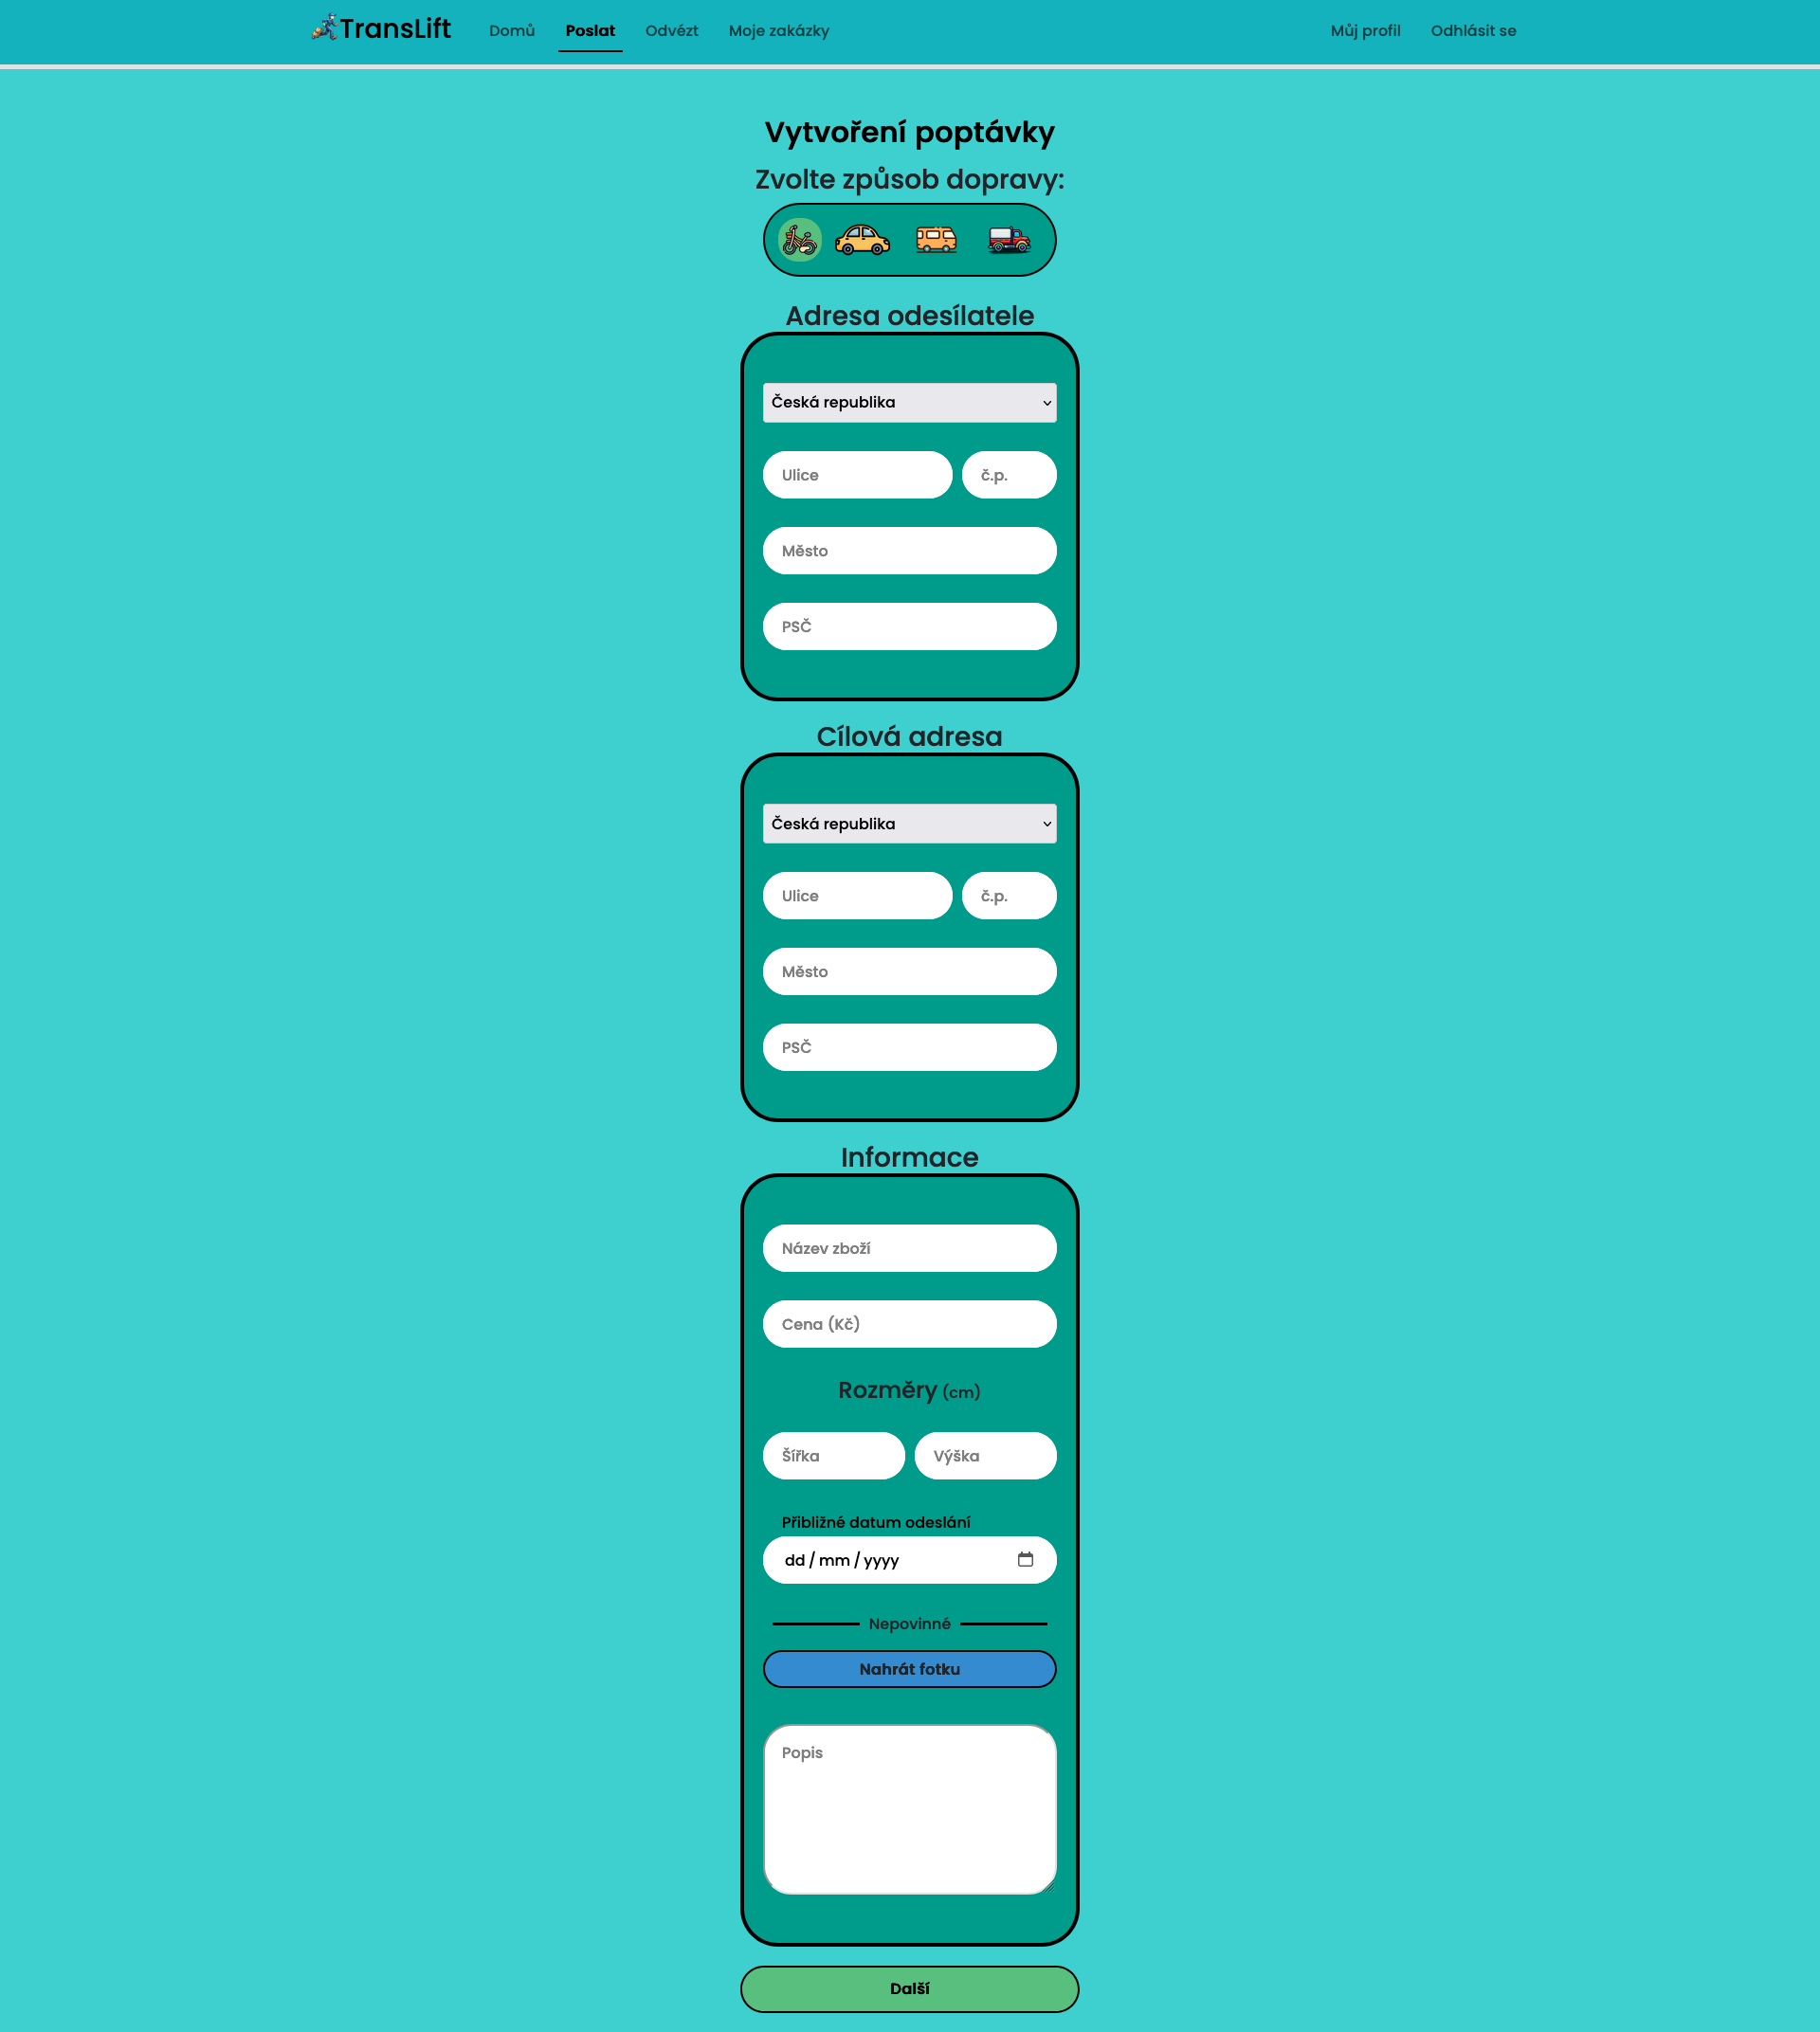
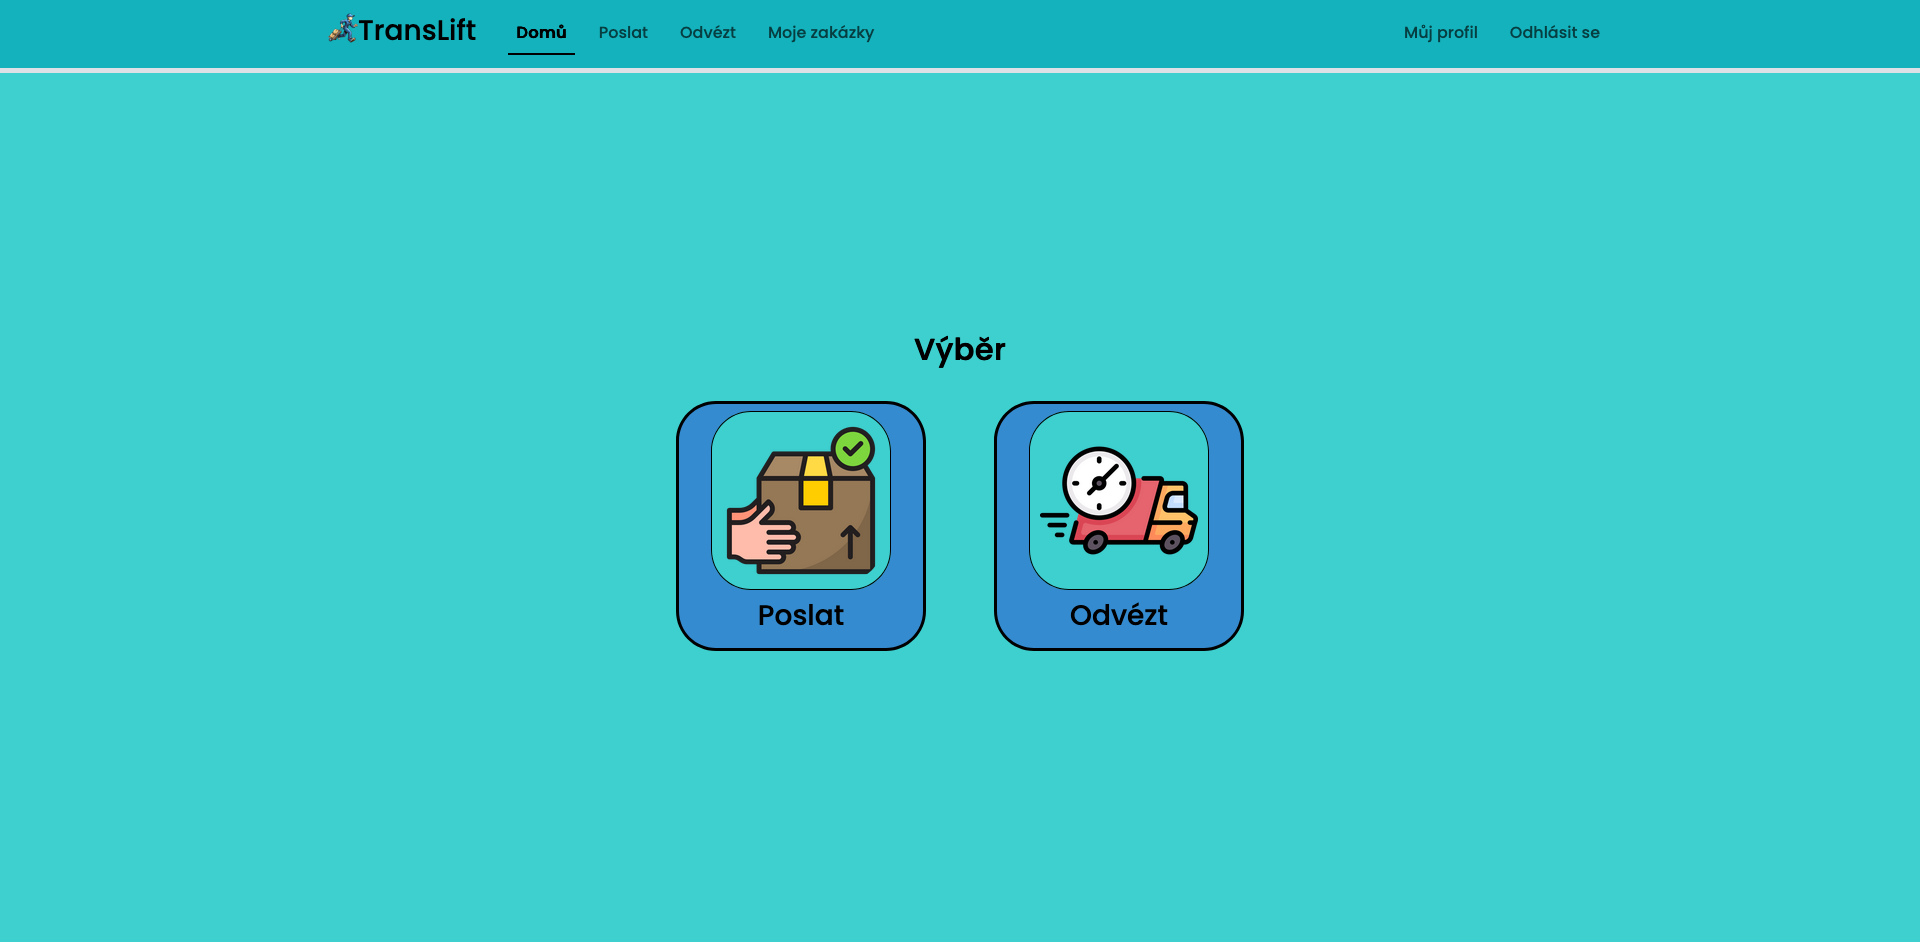
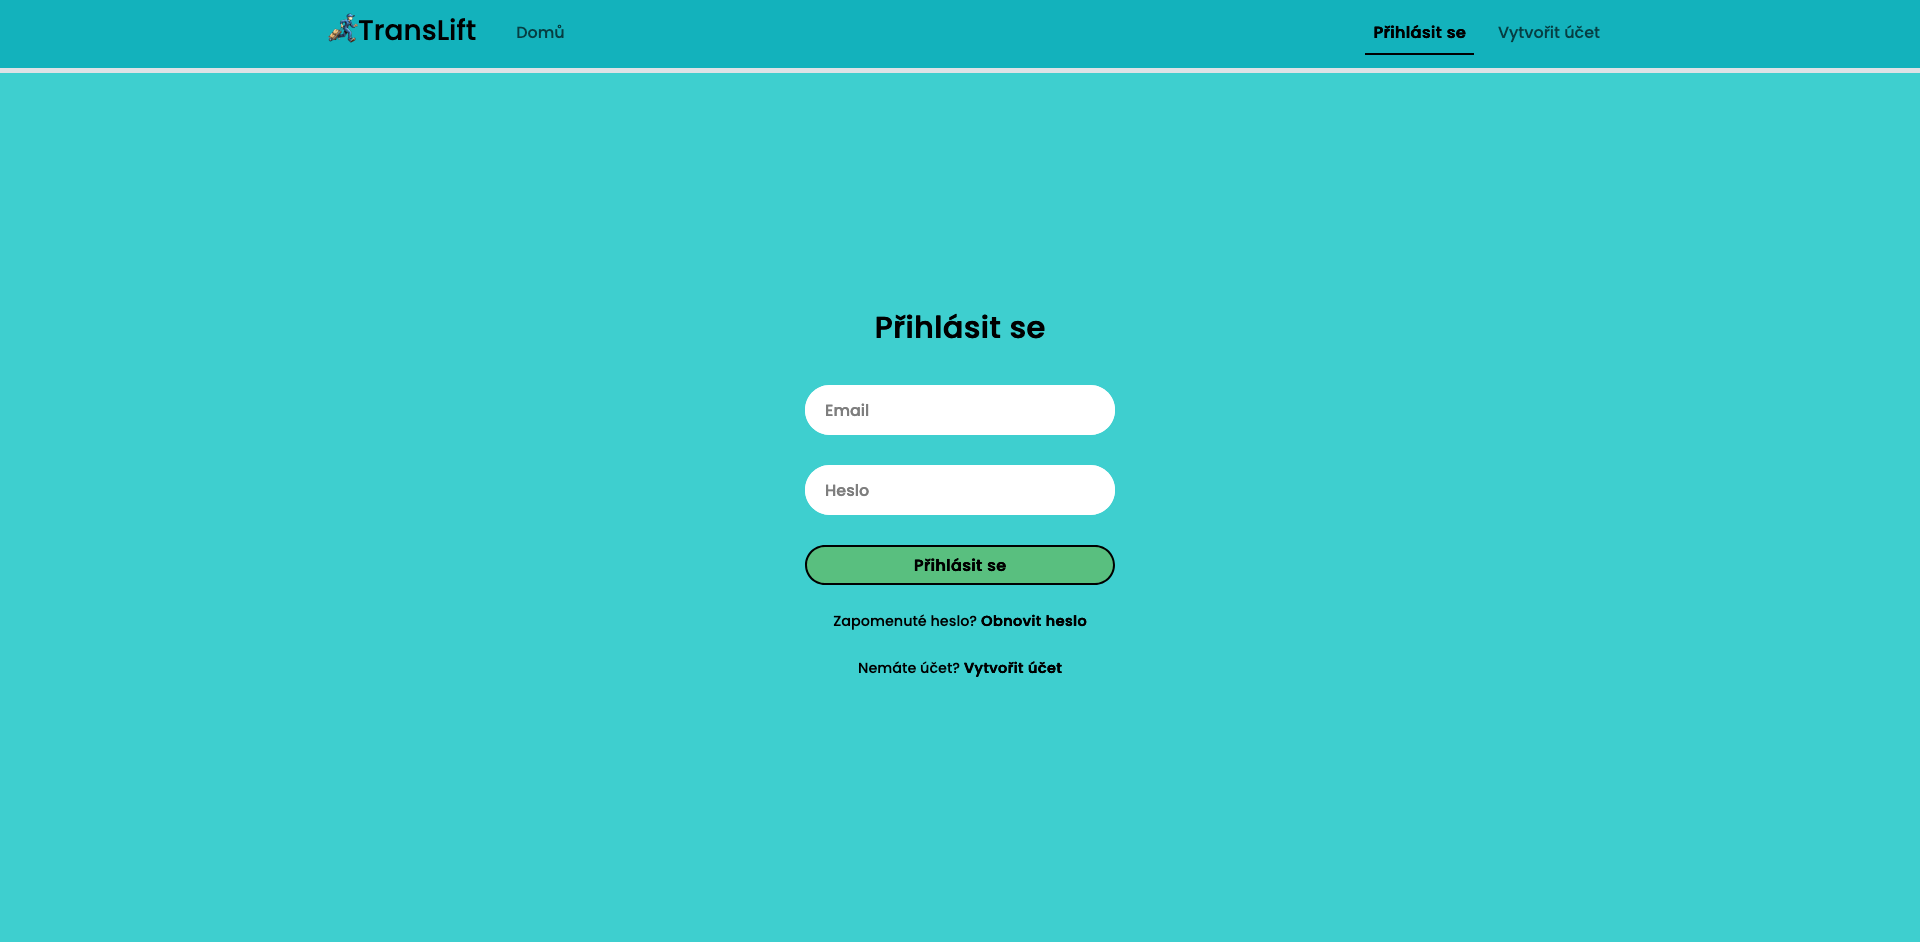
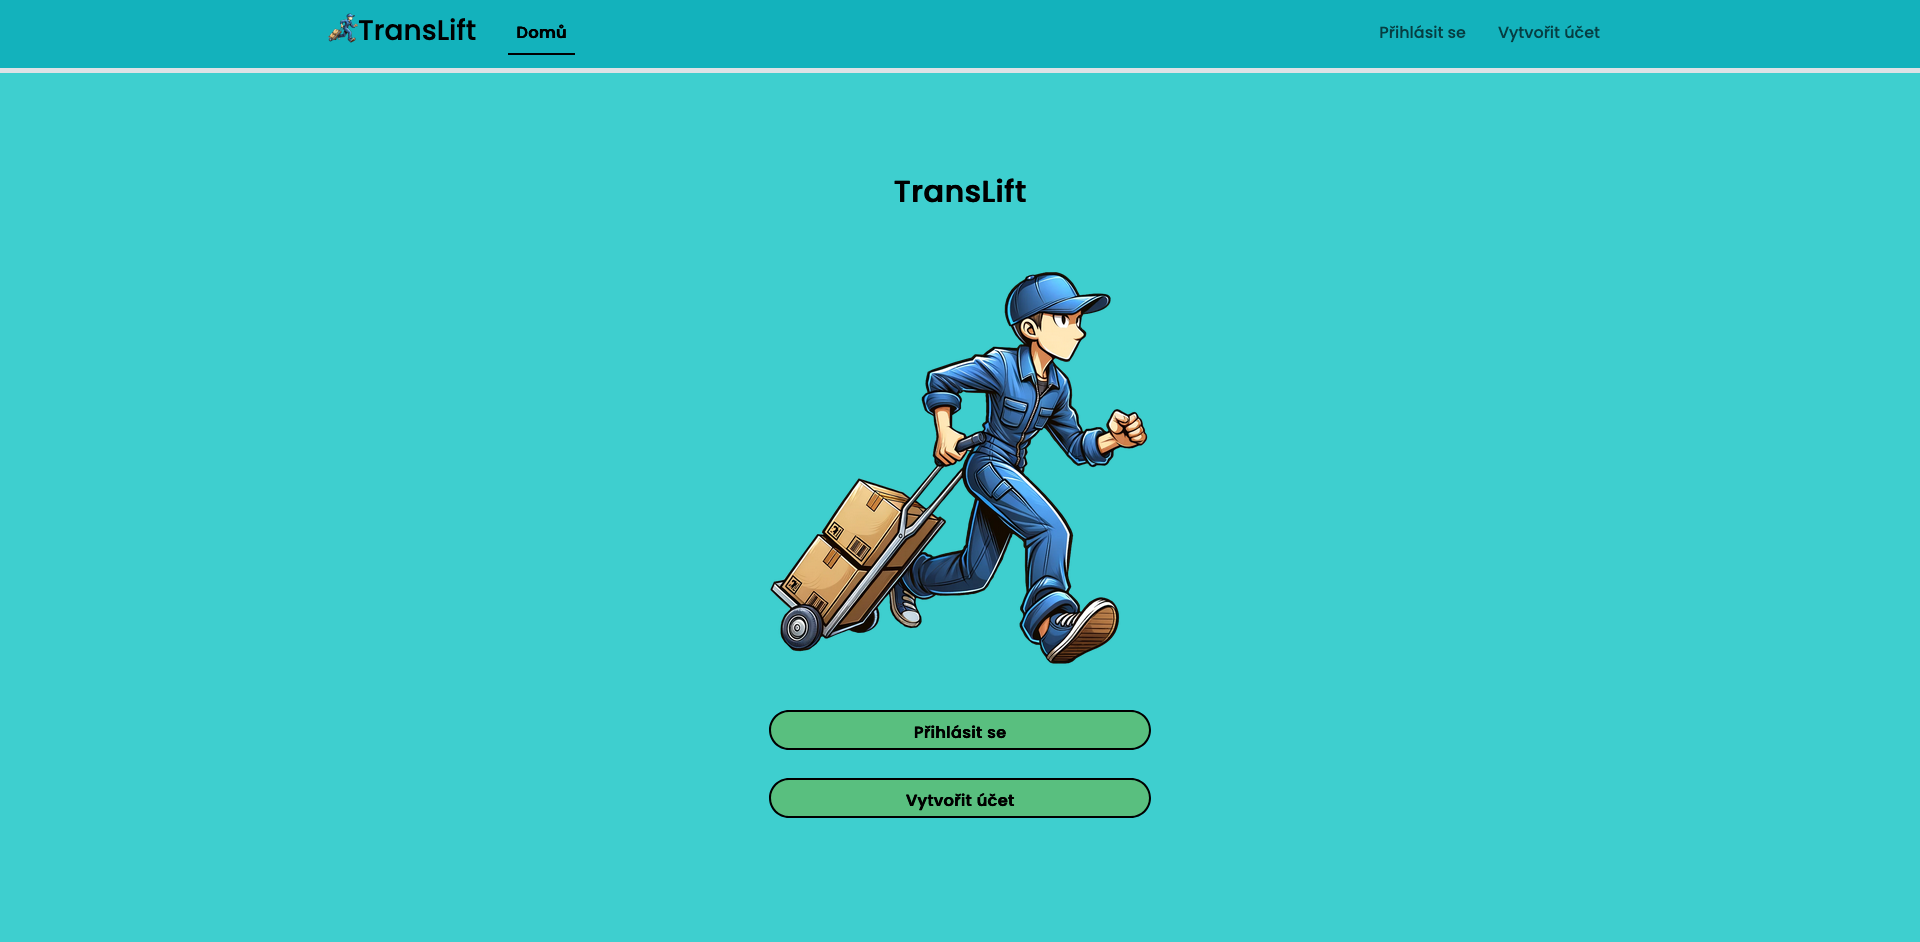
If we did everything correctly, we should have our application deployed and it should look like this:
More Info:
Application urls of teams
- AlfaskvadraVlkousi - Preberu ukradnu
- Dynamic Developers - Random
- Spolecenstvo Simona - Binary Brothers
- Internal_Test
Additional Topics:
- Overview of Azure resources.
- How is application connected to database ?
- If we have Time - Infrastructure as code and Pulumi
- How can i get my release running automagically after a new build ?
More info:
3. Lekce - Databáze, Entity framework, DI, Databáze, Entity framework, REST API
Overview:
- Leftover from last lecture: Setup git policies for branches.
- Overview of MSSQL database and entity framework
- Migrations, Database update, managing migrations in release
- Relations and how to create them
- Repositories & Dependency injection
- Data seeding
- REST API in ASP.NET
More info:
4. Lekce
Cvičení vynecháno z důvodu nepřítomnosti cvičícího
5. Lekce - React app intro, React and Blazor components, Bootstrap, Fetch
Overview:
- React Intro
- What is React
- Intro to TSX/JSX
- Functional components and hooks
- State management with
useState - Side effects with
useEffect - Passing props to child components
- Lifting state up
- Fetch API/Axios
- Information about bootstrap
- Blazor Intro
- What is Blazor
- Blazor hosting models
- State management and side effect (loading data)
- Passing properties to child components
- HttpClient usage
- Information about bootstrap
More info:
6. Lekce - Autentizace a autorizace
Overview:
- What is authentization? What is authorization? Difference
- JWT tokens
- Authentication in ASP.NET
- Current user context
- Authorization in ASP.NET
- Role Based
- Policy Based
- Claims-based
- Claims in tokens for frontend
Add authenticaion to API
-
Register Authentication Services
// Add authentication builder.Services.AddAuthentication(options => { options.DefaultAuthenticateScheme = JwtBearerDefaults.AuthenticationScheme; options.DefaultChallengeScheme = JwtBearerDefaults.AuthenticationScheme; options.DefaultScheme = JwtBearerDefaults.AuthenticationScheme; }).AddJwtBearer(o => { o.TokenValidationParameters = new TokenValidationParameters { ValidIssuer = builder.Configuration["Jwt:Issuer"], ValidAudience = builder.Configuration["Jwt:Audience"], IssuerSigningKey = new SymmetricSecurityKey(Encoding.UTF8.GetBytes(builder.Configuration["Jwt:Key"]!)), ValidateIssuer = true, ValidateAudience = true, ValidateLifetime = false, ValidateIssuerSigningKey = true }; }); -
Add configuration for JWT
"Jwt": {
  "Issuer": "https://utb--2024-internal-test.azurewebsites.net/",
  "Audience": "https://utb--2024-internal-test.azurewebsites.net/",
  "Key": "{GENERATED_KEY_DO_NOT_SHARE}"
}
public class AppSettings { public required JwtOptions Jwt { get; init; } public record JwtOptions { public required string Issuer { get; init; } public required string Audience { get; init; } public required string Key { get; init; } } } -
Add authentication middleware
app.UseAuthorization(); -
Create login Endpoint
[ApiController] [Route("/api/account")] public class AccountController(DataContext dataContext, IOptions<AppSettings> appSettings) : Controller { private readonly AppSettings _appSettings = appSettings.Value; [HttpPost("login")] public IActionResult Login(LoginRequest request) { var user = dataContext.Users.FirstOrDefault(user => user.Email == request.Email); if (user == null) return NotFound(); if (Password.Verify(request.Password, user.PasswordHash, user.PasswordSalt) == false) return BadRequest(); var issuer = _appSettings.Jwt.Issuer; var audience = _appSettings.Jwt.Audience; var key = Encoding.ASCII.GetBytes(_appSettings.Jwt.Key); var tokenDescriptor = new SecurityTokenDescriptor { Subject = new ClaimsIdentity(new[] { new Claim("Id", user.Id.ToString()), new Claim(JwtRegisteredClaimNames.Email, user.Email), }), Expires = DateTime.UtcNow.AddDays(1), Issuer = issuer, Audience = audience, SigningCredentials = new SigningCredentials(new SymmetricSecurityKey(key), SecurityAlgorithms.HmacSha512Signature) }; var tokenHandler = new JwtSecurityTokenHandler(); var token = tokenHandler.CreateToken(tokenDescriptor); var jwtToken = tokenHandler.WriteToken(token); return Ok(jwtToken); } } -
You should now be able to login in with your user
- You can inspect your token at https://jwt.io/
-
Authorize weather forecasts
... [ApiController] [Route("/api/weather-forecast")] [Authorize] public class WeatherForecastController(DataContext dataContext, UsersRepository usersRepository) : ControllerBase { ... -
Add JWT token capability for swagger
// Add Swagger builder.Services.AddEndpointsApiExplorer(); builder.Services.AddSwaggerGen(option => { option.AddSecurityDefinition("Bearer", new OpenApiSecurityScheme { In = ParameterLocation.Header, Description = "Please enter a valid token", Name = "Authorization", Type = SecuritySchemeType.Http, BearerFormat = "JWT", Scheme = "Bearer" }); option.AddSecurityRequirement(new OpenApiSecurityRequirement { { new OpenApiSecurityScheme { Reference = new OpenApiReference { Type=ReferenceType.SecurityScheme, Id="Bearer" } }, new string[]{} } }); }); -
Now your endpoints are restricted to authorized users only and swagger can work with token
Add authorization to API
-
Define roles
namespace Application.Backend.Authorization; public class Role { public const string Administrator = "Administrator"; public const string User = "User"; } -
Define policies
namespace Application.Backend.Authorization; public class Policy { public const string CanEditForecasts = "CanEditForecasts"; } -
Add Authorization and register policy
builder.Services .AddAuthorization(options => { options.AddPolicy(Policy.CanEditForecasts, policy => policy.RequireClaim(Policy.CanEditForecasts, "True")); }); - Add role to User
-
Add claim when creating token
... new Claim(Policy.CanEditForecasts, (user.Role == Role.Administrator).ToString()) ... -
Apply authorization attribute on controller methods
[Authorize(Policy = Policy.CanEditForecasts)] - Now you have roles and policies for them, you can also use the policies on FE since they are in token
Getting current user context in API
...
public class WeatherForecastController(DataContext dataContext) : ControllerBase
...
var emailClaim = User.FindFirst(ClaimTypes.Email);
...
More info:
7. Lekce - Scrum game
Cvičení vynecháno - věnováno scrum game
8. Lekce - Feature Flags, Logování aplikace, Individuální podpora týmů
Overview:
- What is loggin and why is it usefull
- ASP.NET Logging basics
- Azure app insights
- What is feature management and why should you use it
- Setup feature managamenet
- Give permessions to read azure ? TJU - JUR
Logging
-
Inject ILogger
in your class public class WeatherForecastController(DataContext dataContext, ILogger<WeatherForecastController> logger) : ControllerBase -
Log your actions
...
[HttpGet]
public IActionResult Get()
{
    logger.LogInformation("Getting weather forecasts");
...
... [HttpGet("{id:guid}")] public IActionResult Get(Guid id) { var weatherForecasts = dataContext.WeatherForecasts.FirstOrDefault(forecast => forecast.Id == id); if (weatherForecasts == null) { logger.LogWarning("Weather forecast {id} not found", id); return NotFound(); } ...[HttpGet("exception")] public IActionResult GetException() { try { throw new Exception("Foo bar"); } catch (Exception exception) { logger.LogError(exception, "An error happened while ..."); throw; } } -
Log all your HTTP request
...
// Add Database
builder.Services
    .AddDbContext<DataContext>(options => options
        .UseSqlServer(builder.Configuration.GetConnectionString("Database")));

// Add Logging
builder.Services.AddHttpLogging(o => { });

// Build app
var app = builder.Build();
...
... dataContext.Database.Migrate(); // Configure the HTTP request pipeline. app.UseHttpLogging(); if (app.Environment.IsDevelopment()) { ...... "Logging": { "LogLevel": { ... "Microsoft.AspNetCore.HttpLogging.HttpLoggingMiddleware": "Information" } }, ...
Feature Flags
- Install Microsoft.FeatureManagement package
-
Add your flags to appsettings.json
"FeatureManagement": { "WeatherForecastIncludesFahrenheits": true, "WeatherForecastIncludesKelvins": { "EnabledFor": [ { "Name": "Percentage", "Parameters": { "Value": 50 } } ] } } - Inject
IFeatureManager
public class WeatherForecastController(DataContext dataContext, IFeatureManager featureManager) : ControllerBase
- Use flags in code
...
var includeFahrenheit = await featureManager.IsEnabledAsync("WeatherForecastIncludesFahrenheits");
var includeKelvin = await featureManager.IsEnabledAsync("WeatherForecastIncludesKelvins");

var weatherForecasts = dataContext.WeatherForecasts
    .Select(forecast => new
    {
        forecast.Id,
        forecast.Summary,
        forecast.Date,
        Fahrenheit = includeFahrenheit ? Random.Next() : (int?)null,
        Kelvin = includeKelvin ? Random.Next() : (int?)null,
    })
    .ToList();
...
More Info:
- ASP.NET Http logging
- ASP.NET Logging fundamentals
- Azure App Insights
- ASP.NET Feature flags
- Feature toggle (Wiki)
- Feature toggle (Martin Fowler)
9. Lekce
Cvičení odpadá - Velikonoce
10. Lekce - Přednáška CI&CD Best practices
11. Lekce - Individuální podpora týmů / Volné téma
12. Lekce - Code review
13. Lekce - Final code review
Final Results:
- https://utb–2024-alfa-preberu.azurewebsites.net/
- https://utb–2024-dynamic-random.azurewebsites.net/
- https://utb–2024-spolecenstvo-binary.azurewebsites.net/
AlfaSkvarda Vlkousu & Preberu ukradnu

Dynamic Developers & Random
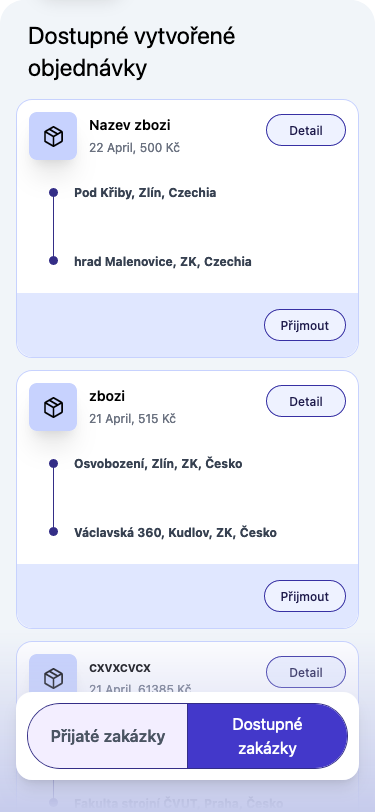
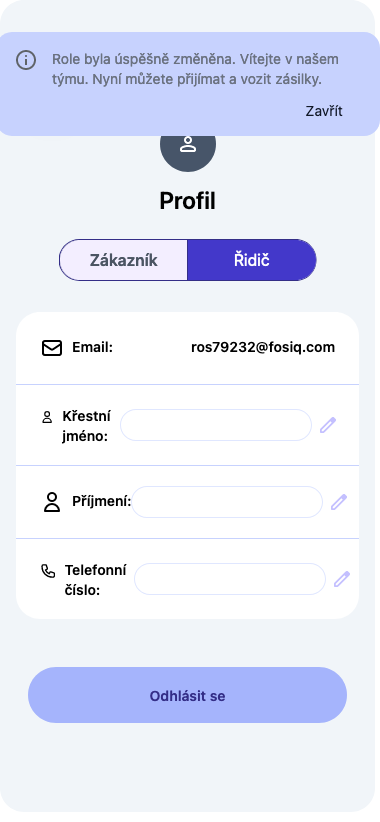
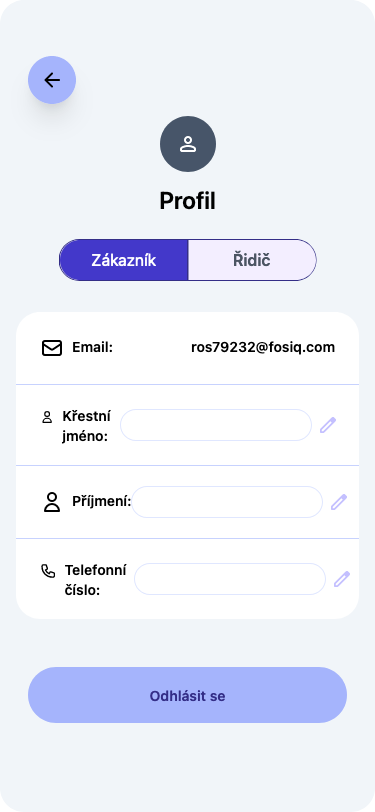
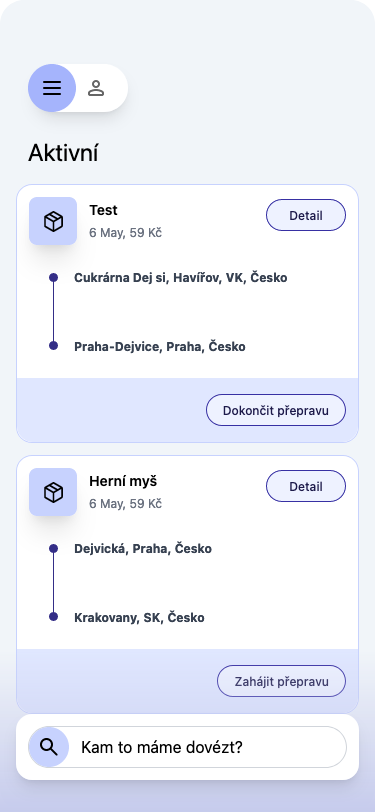
Společenstvo Šimona & Binary brothers